Thursday, May 31, 2012

My Memories Suite GIVEAWAY!

GIVEAWAY IS NOW CLOSED!!!


THE WINNER IS ROBYN FROM ROBYN'S VIEW!!!! 
CONGRATS ROBYN.

Are you all ready for my first GIVEWAY! I know I am :)
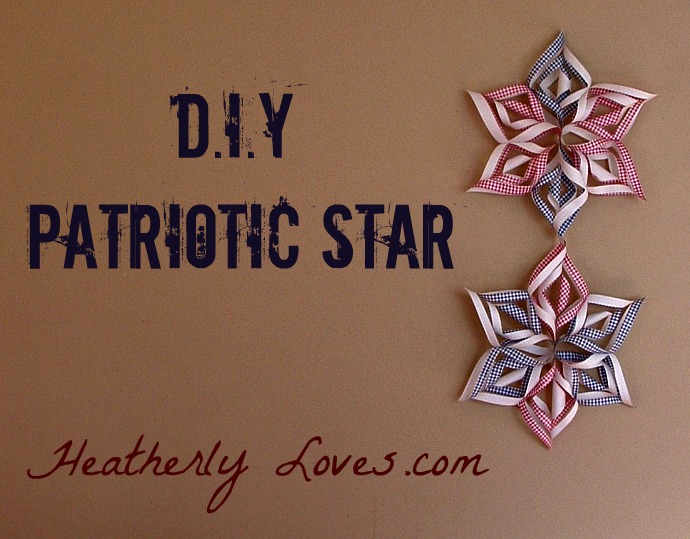
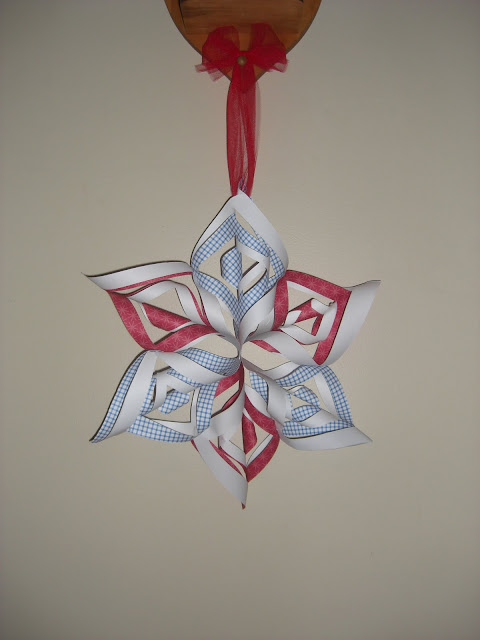
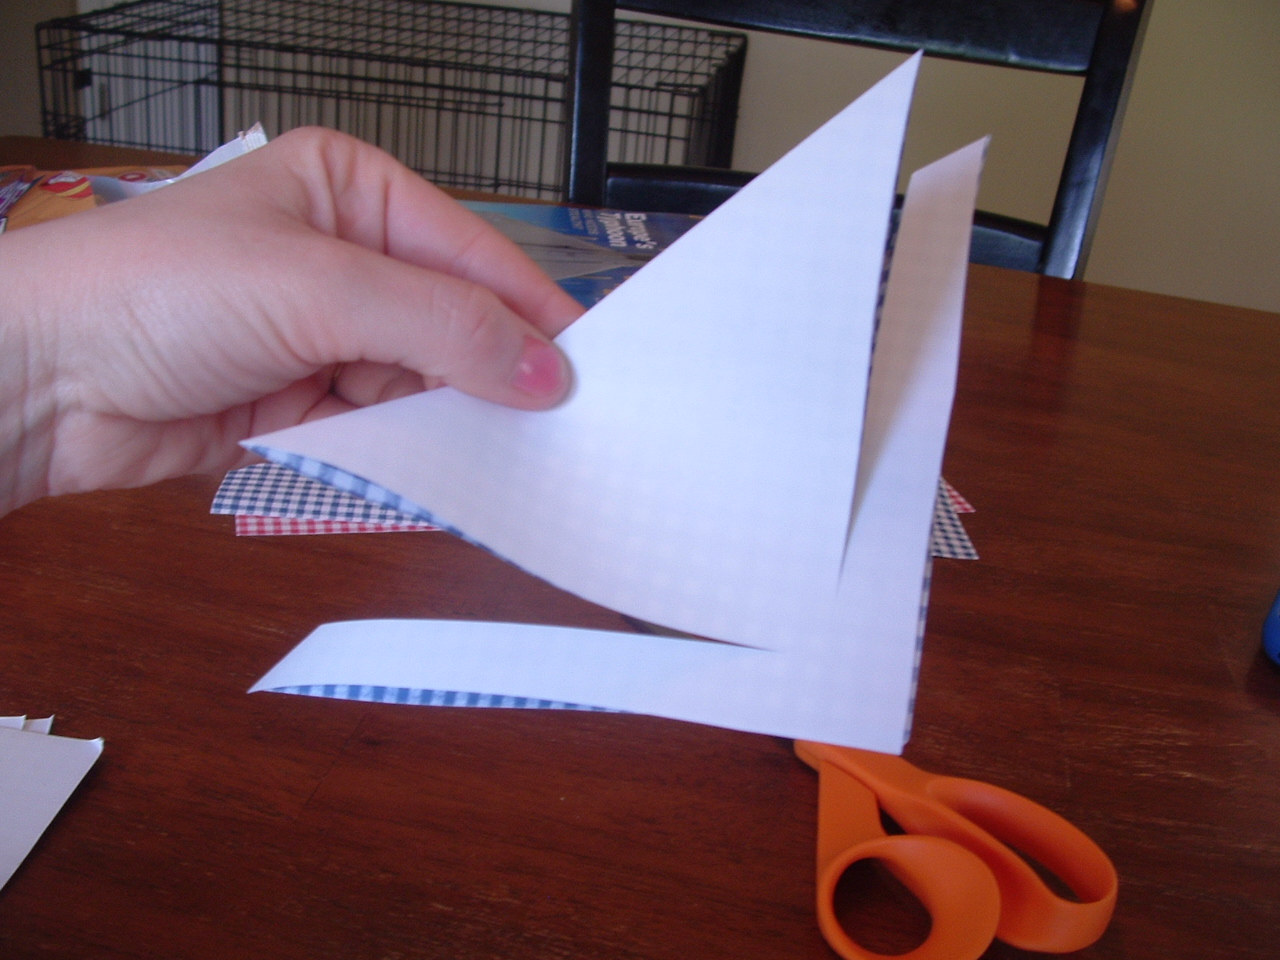
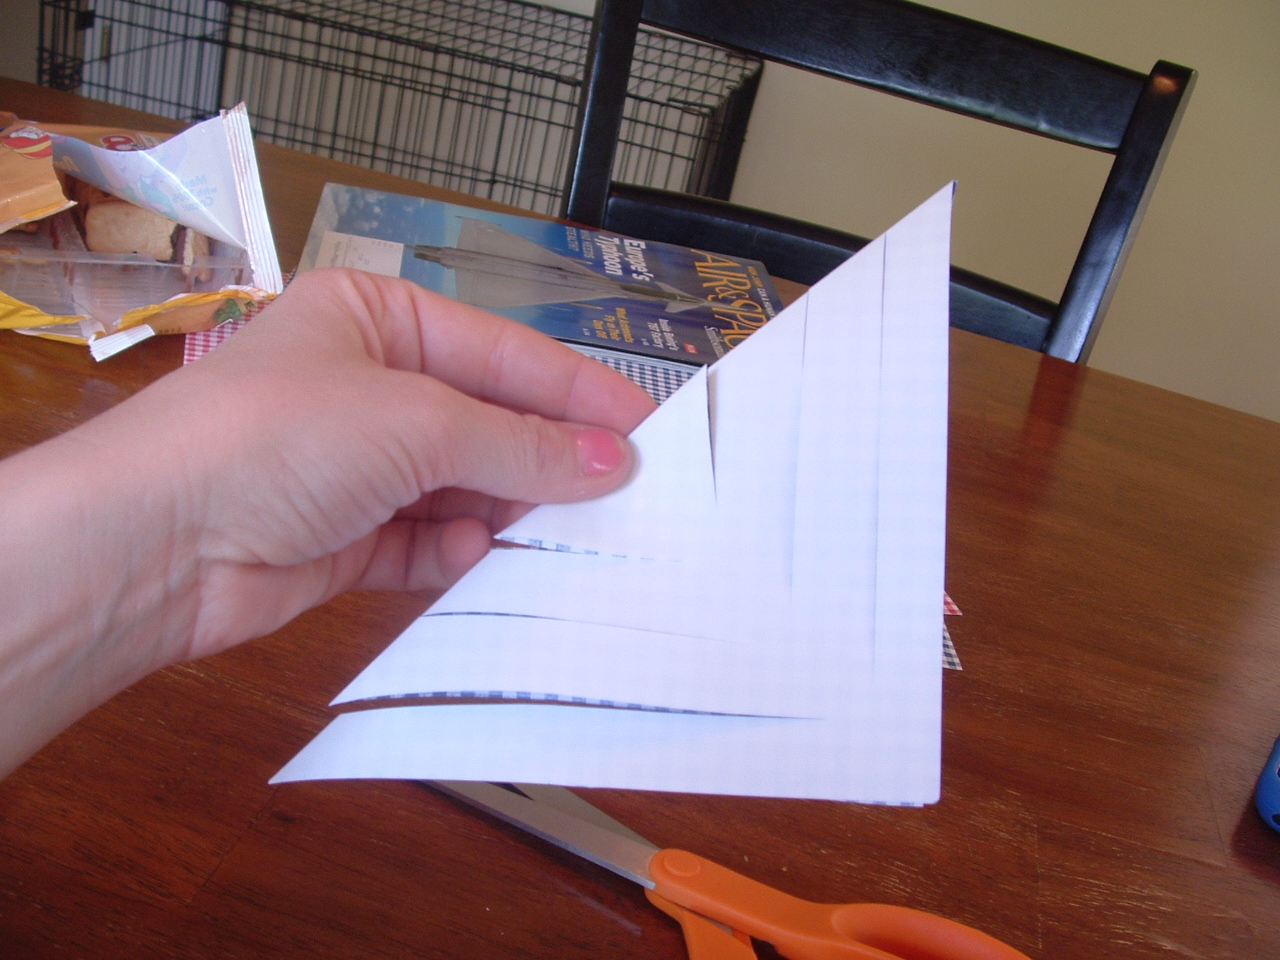
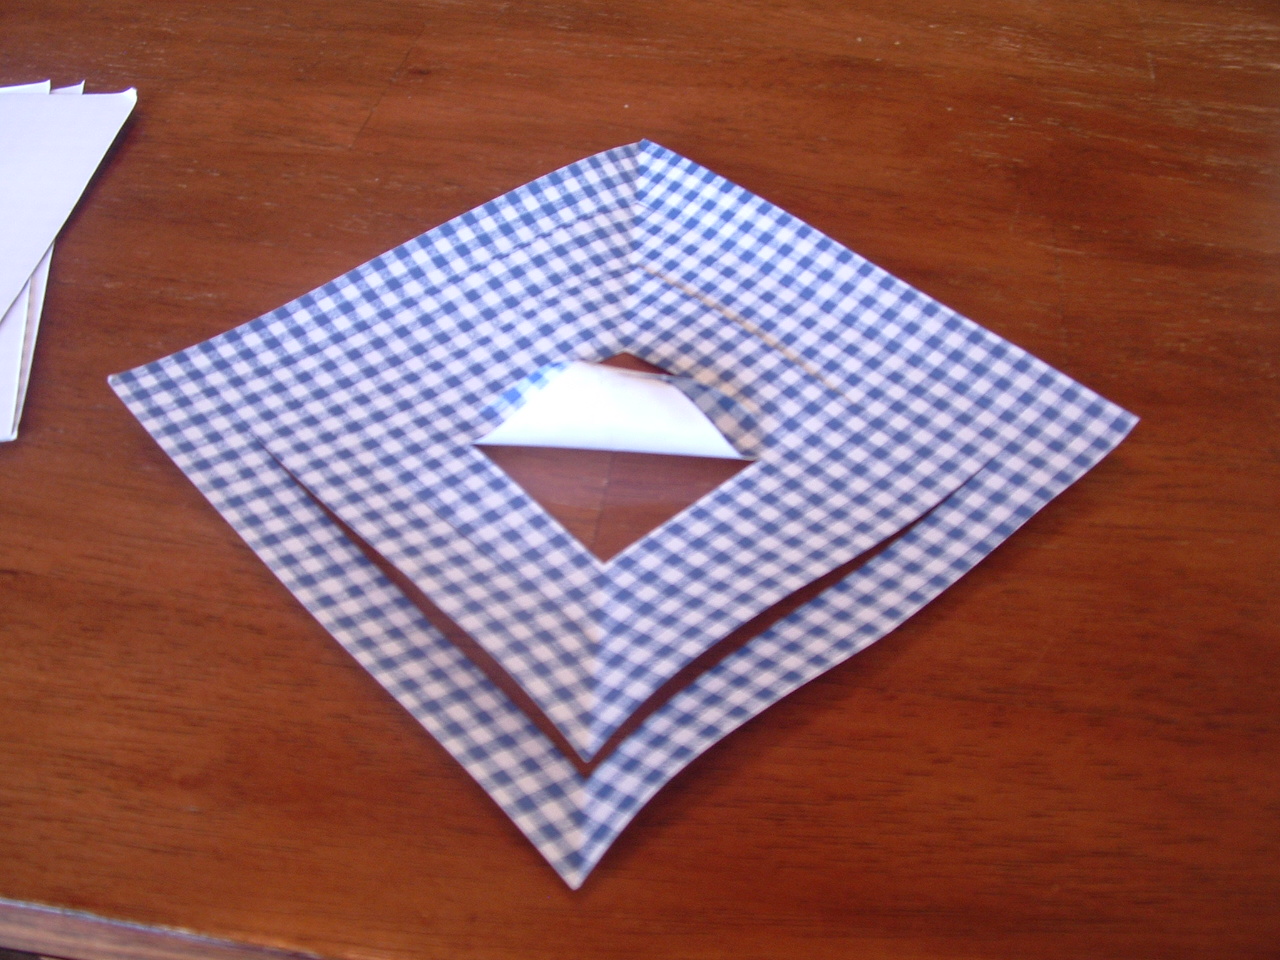
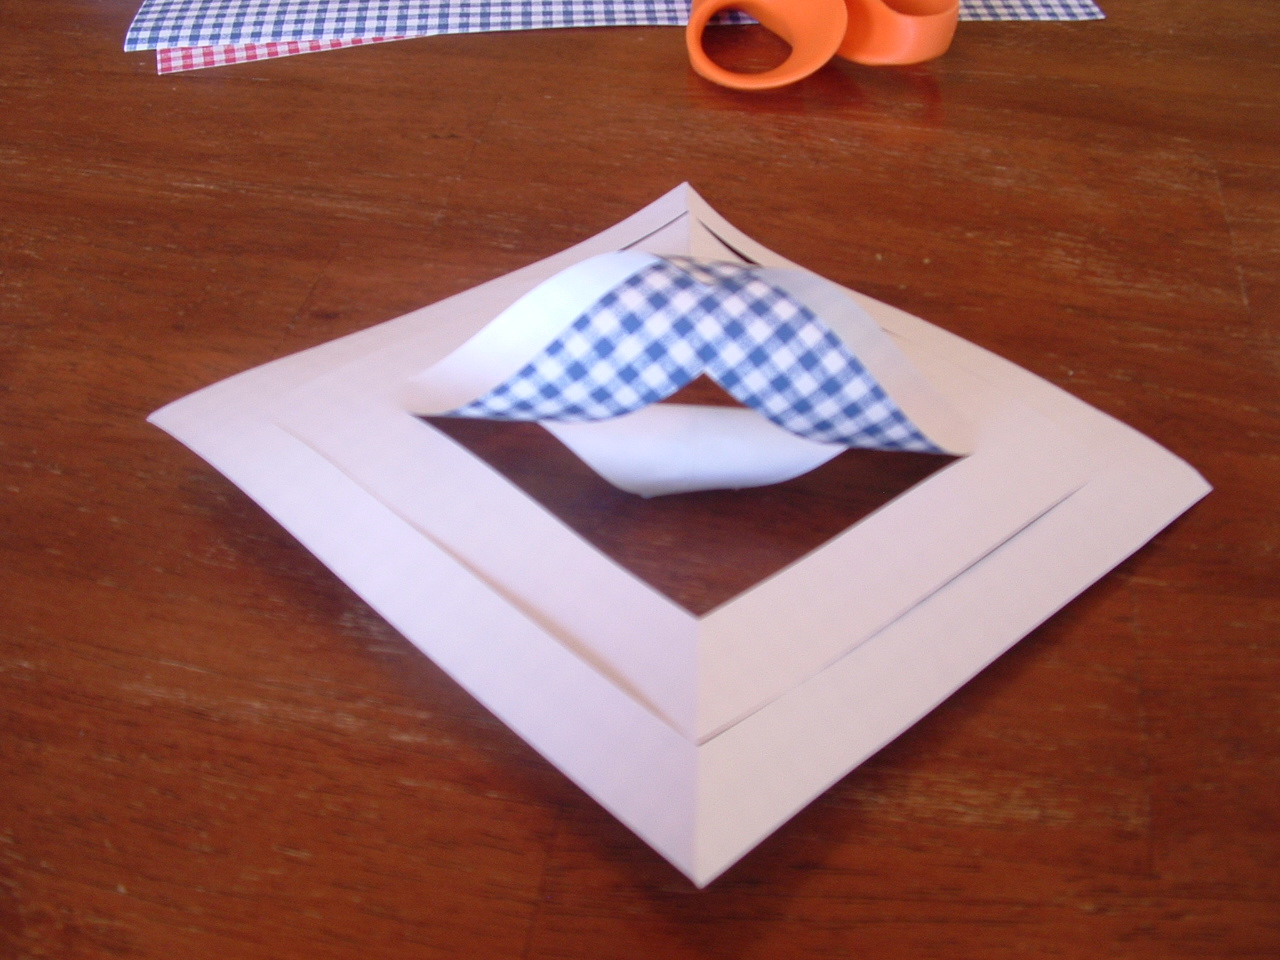
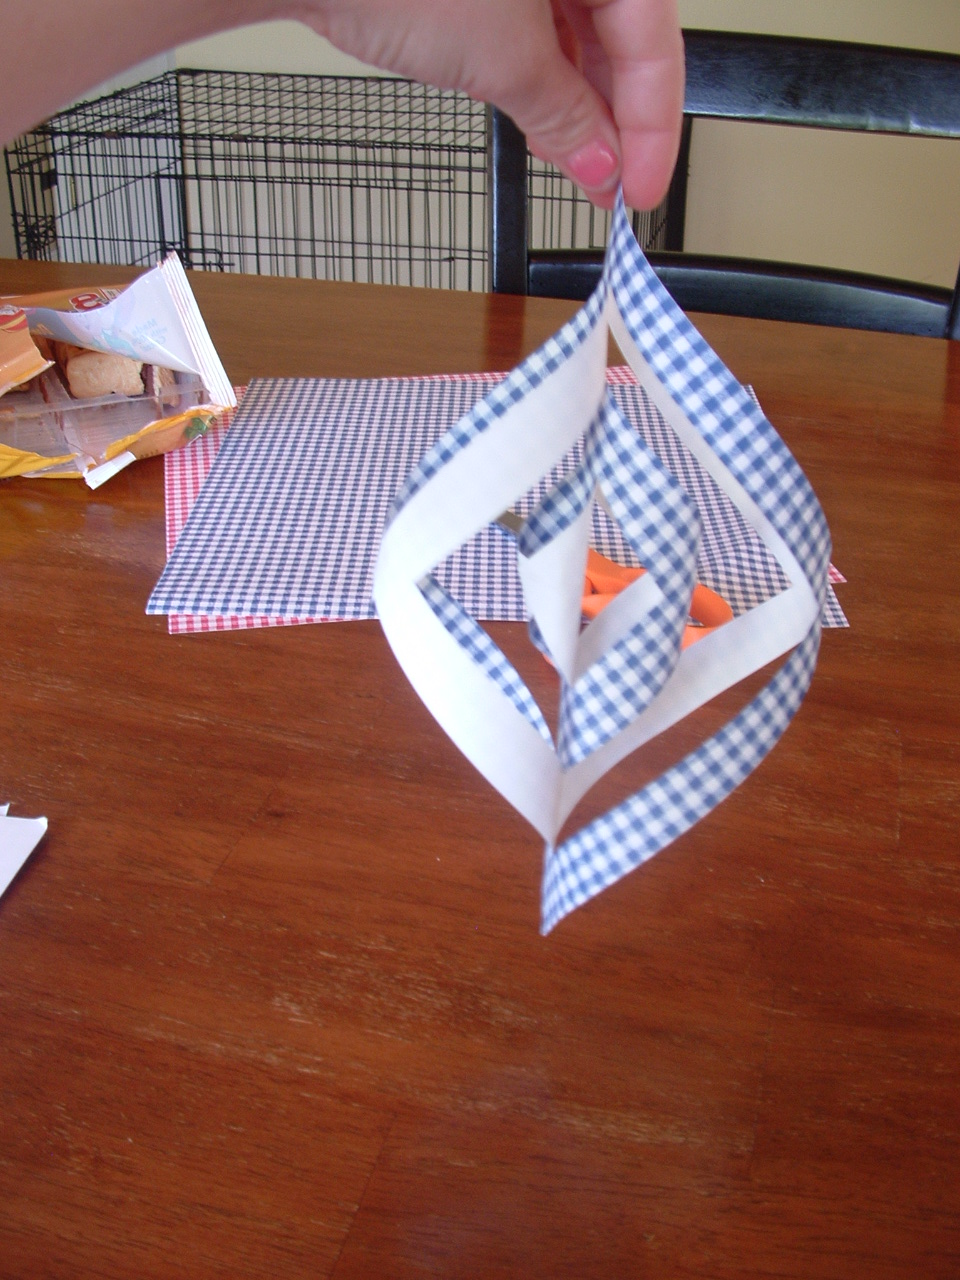
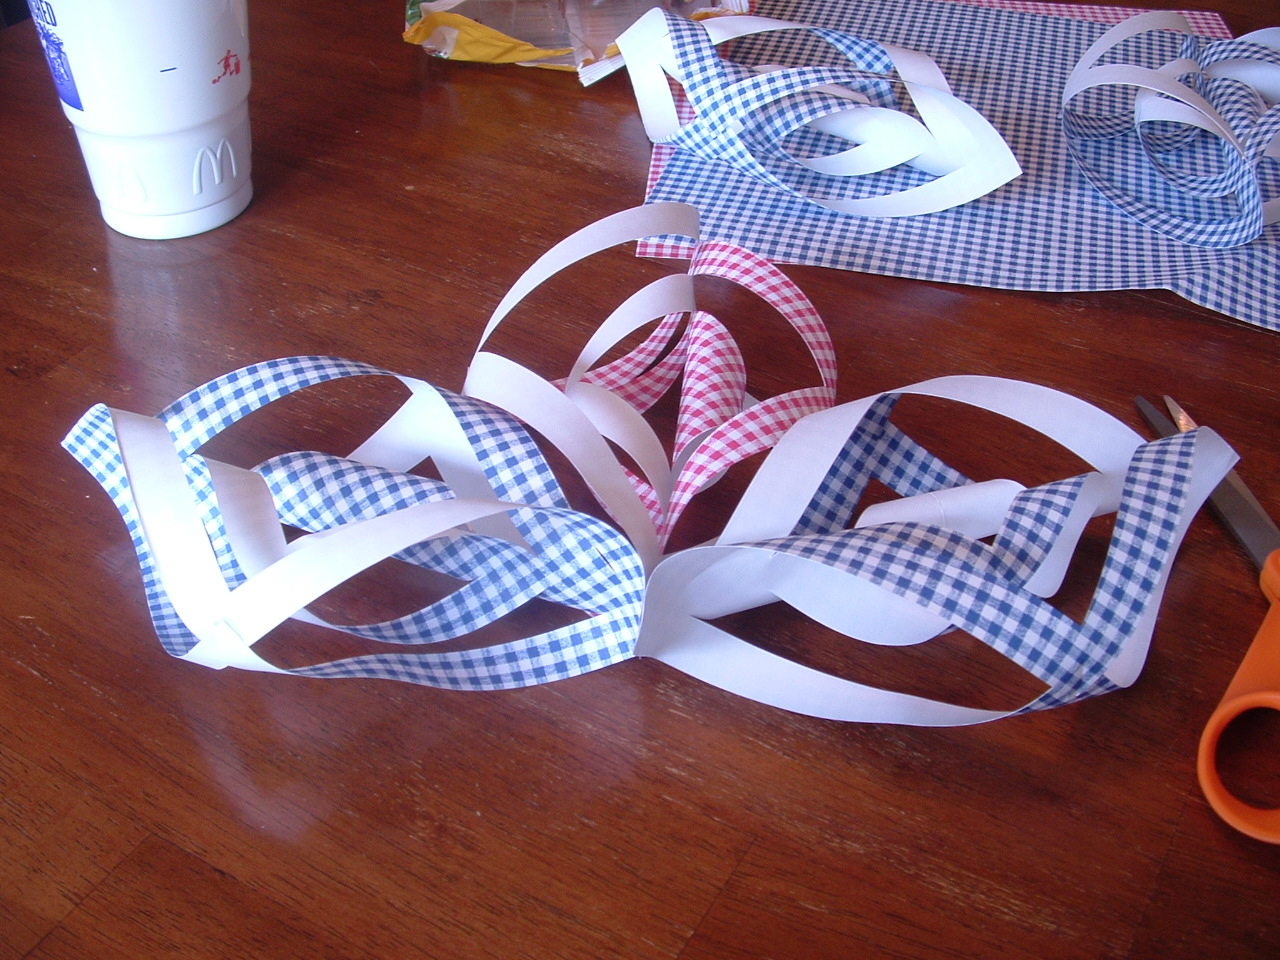
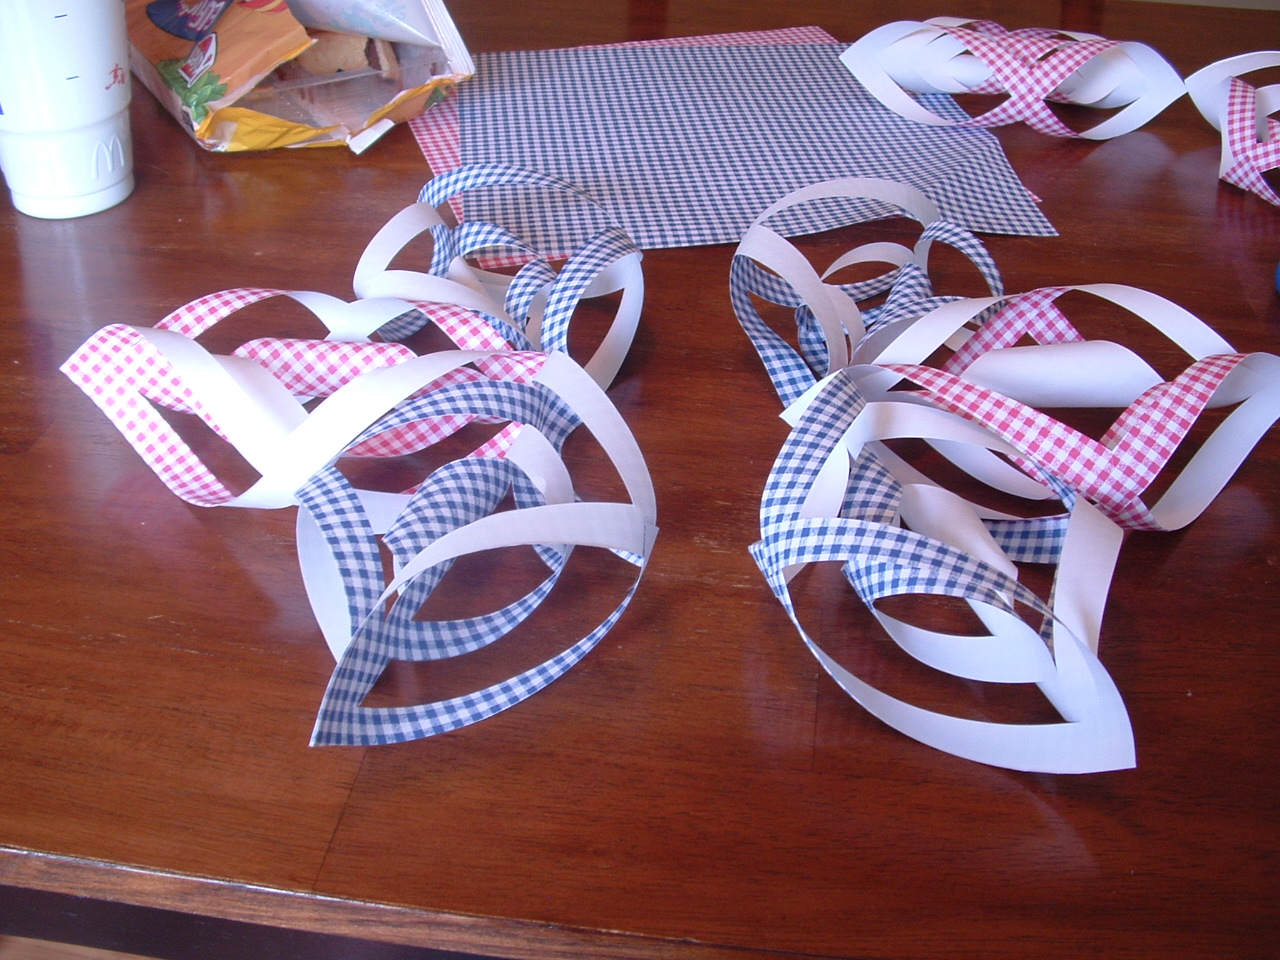
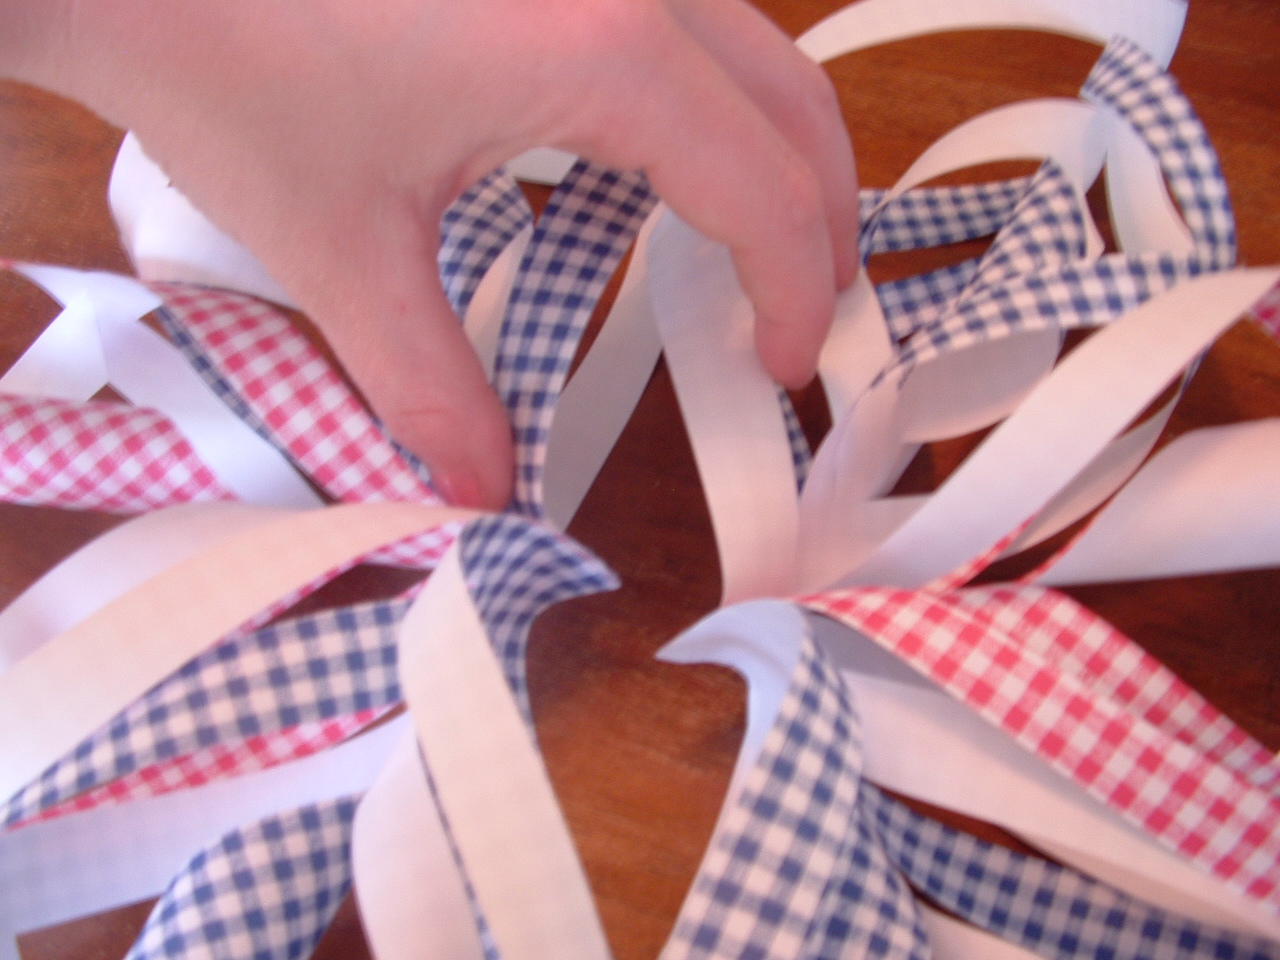
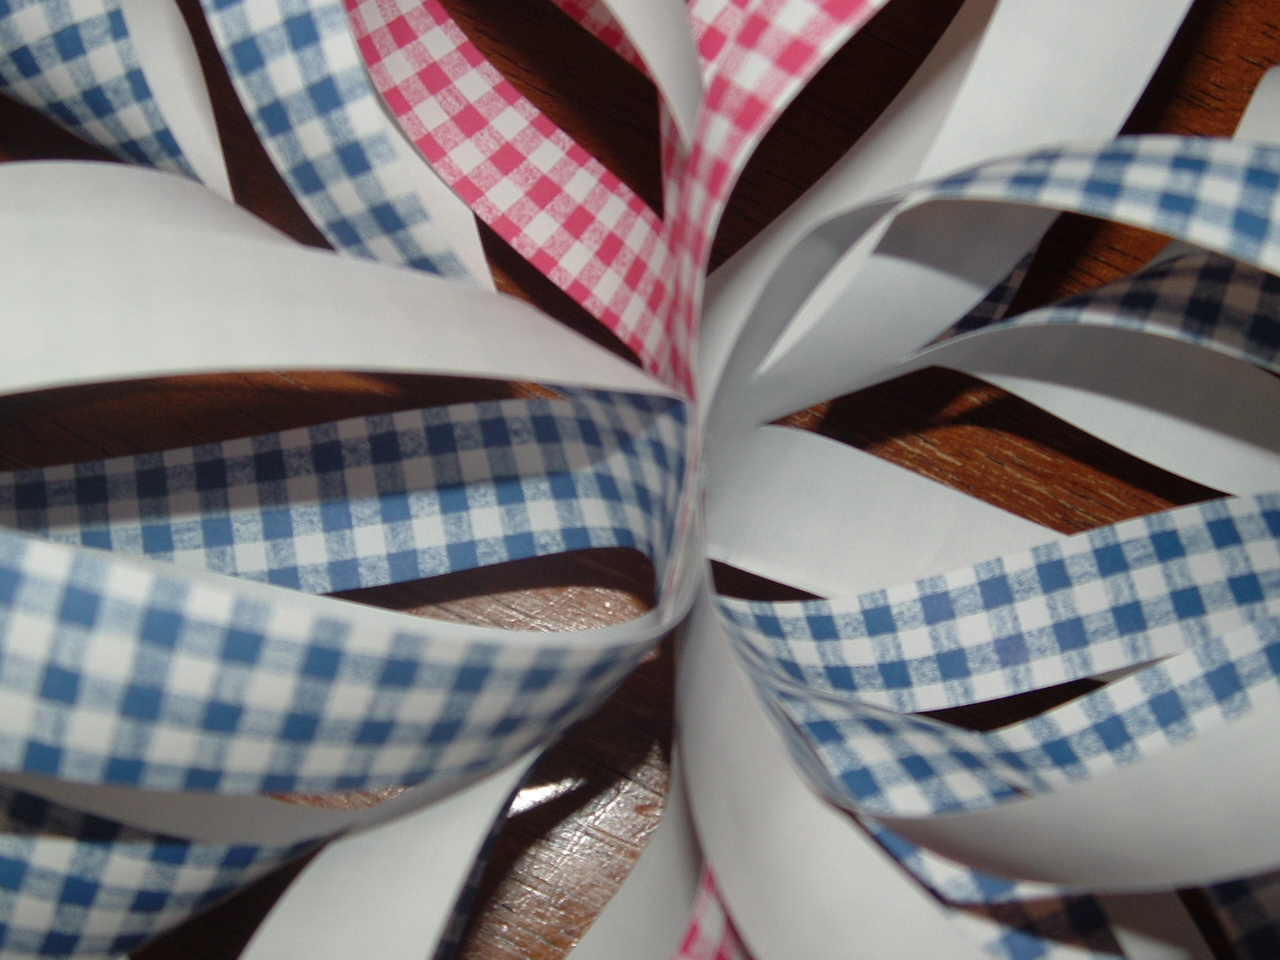
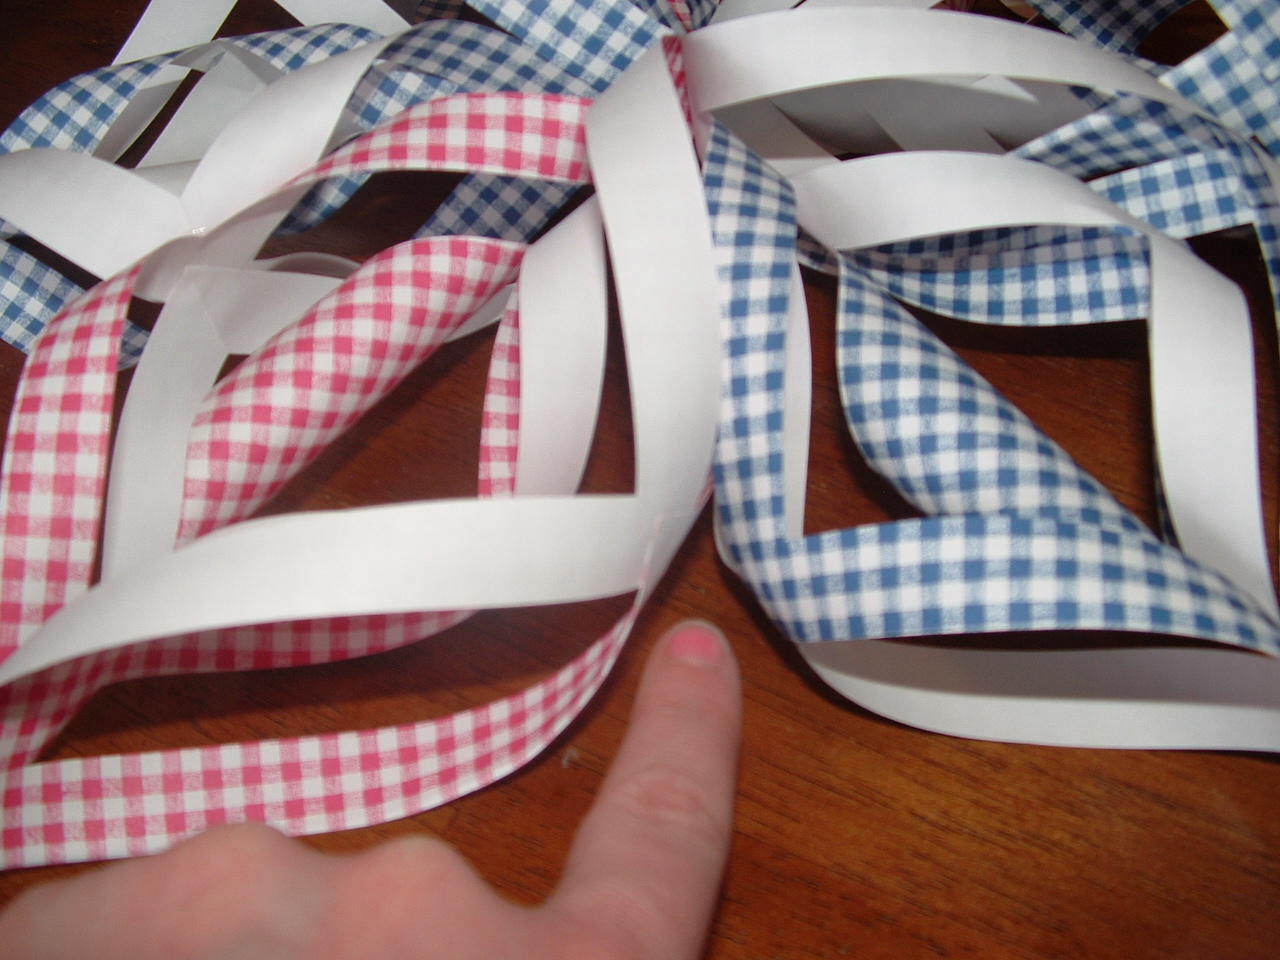
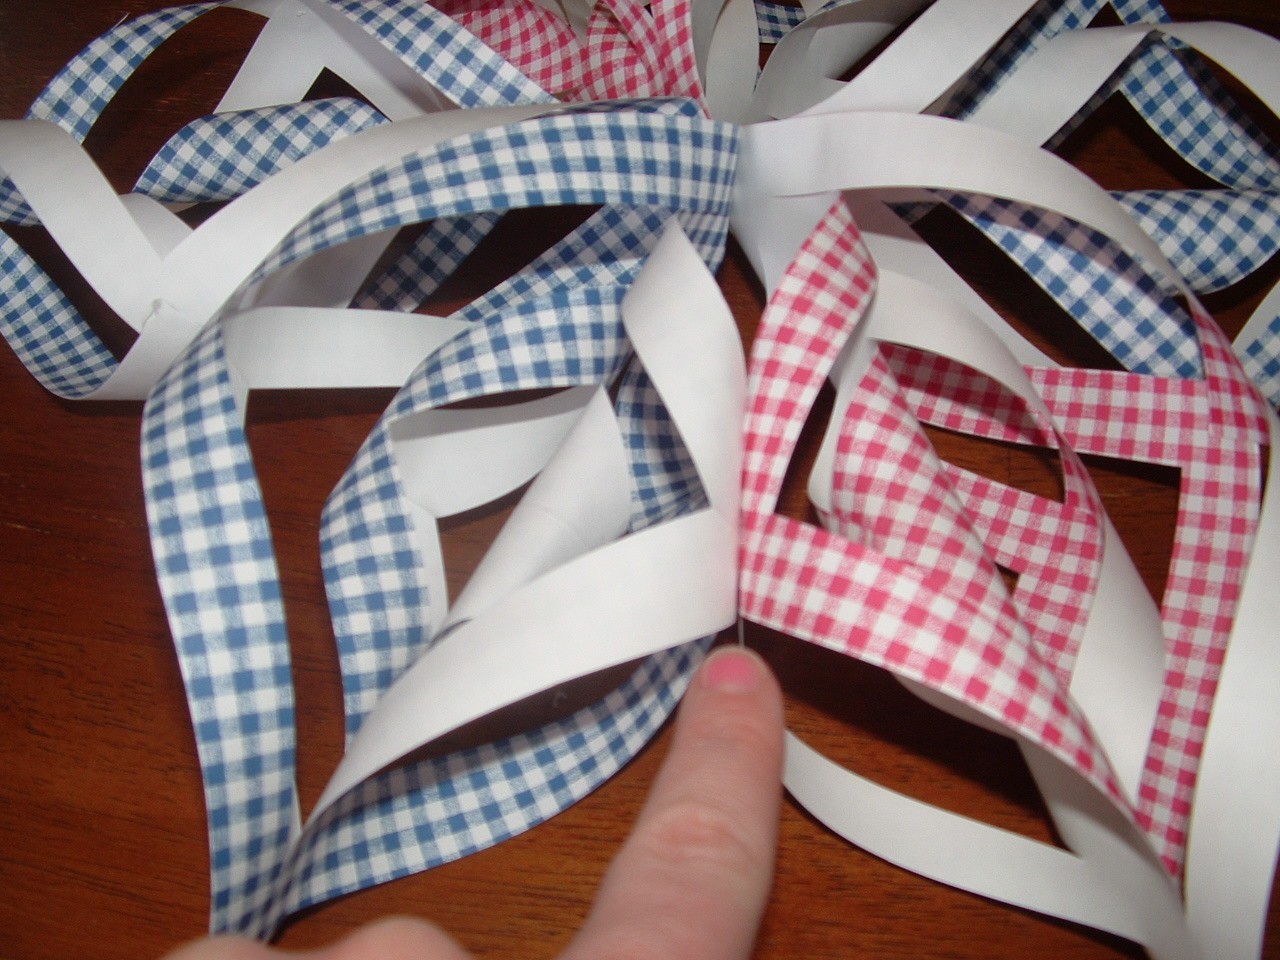
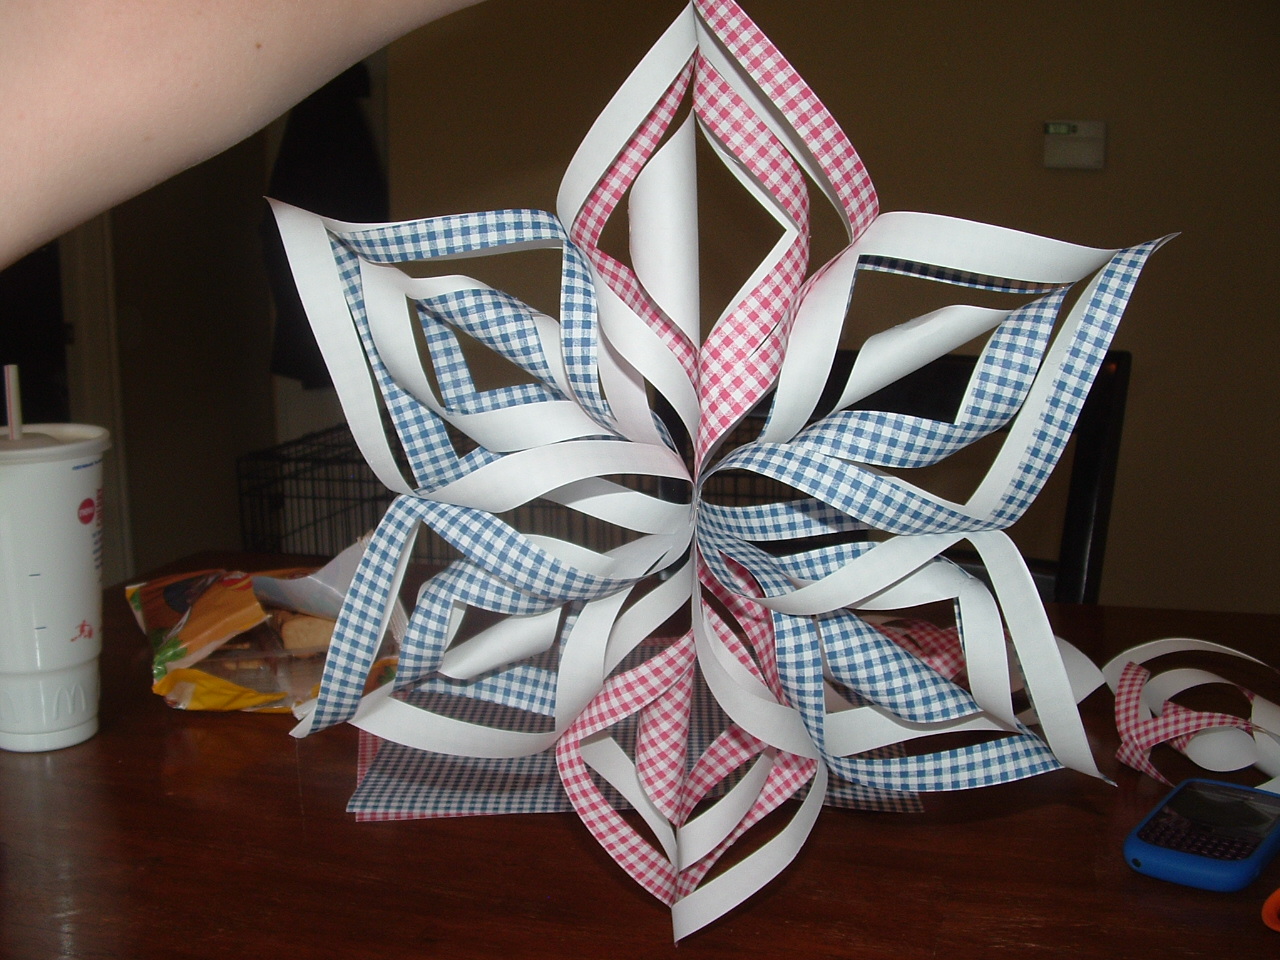
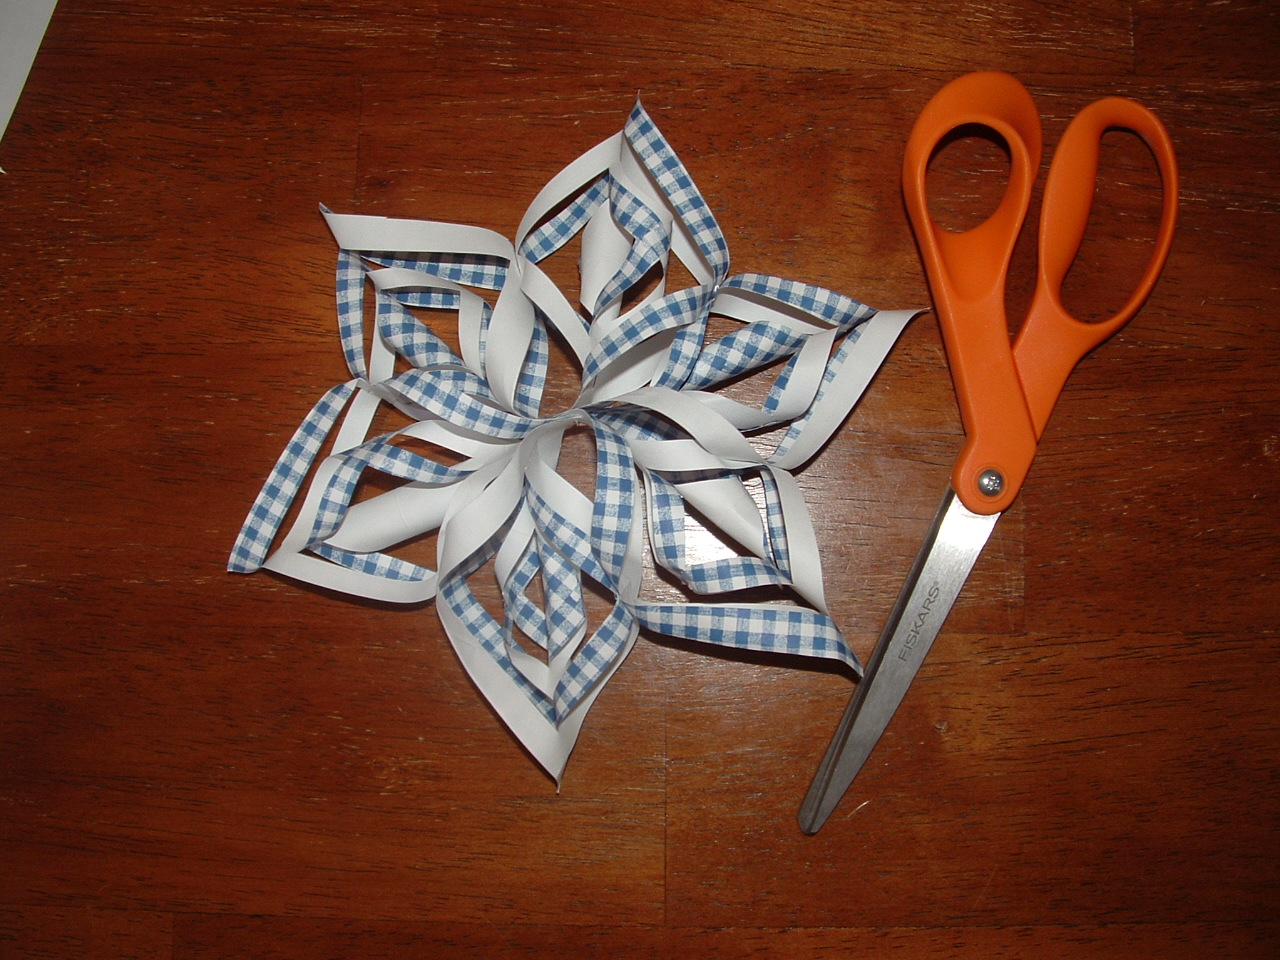
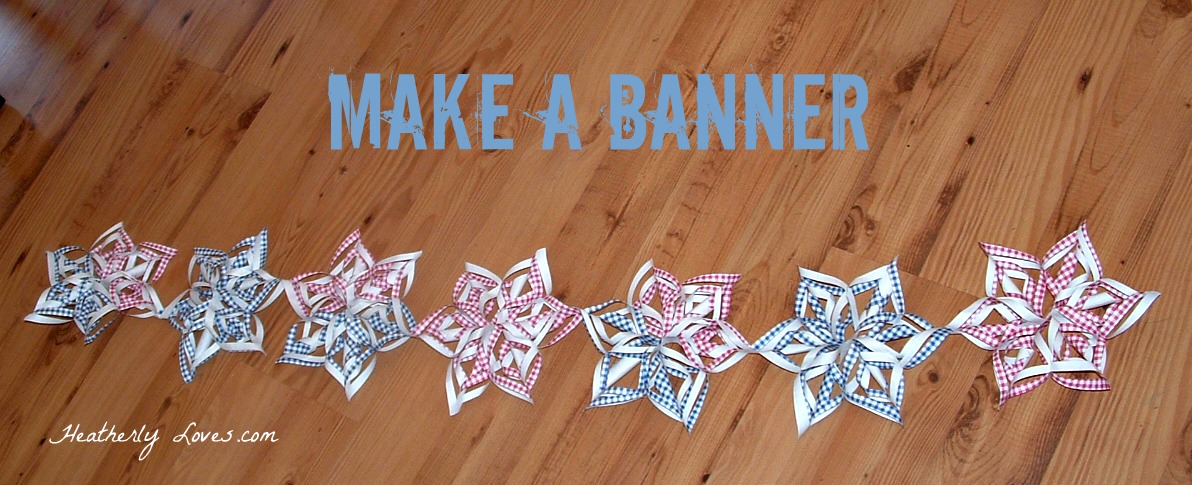
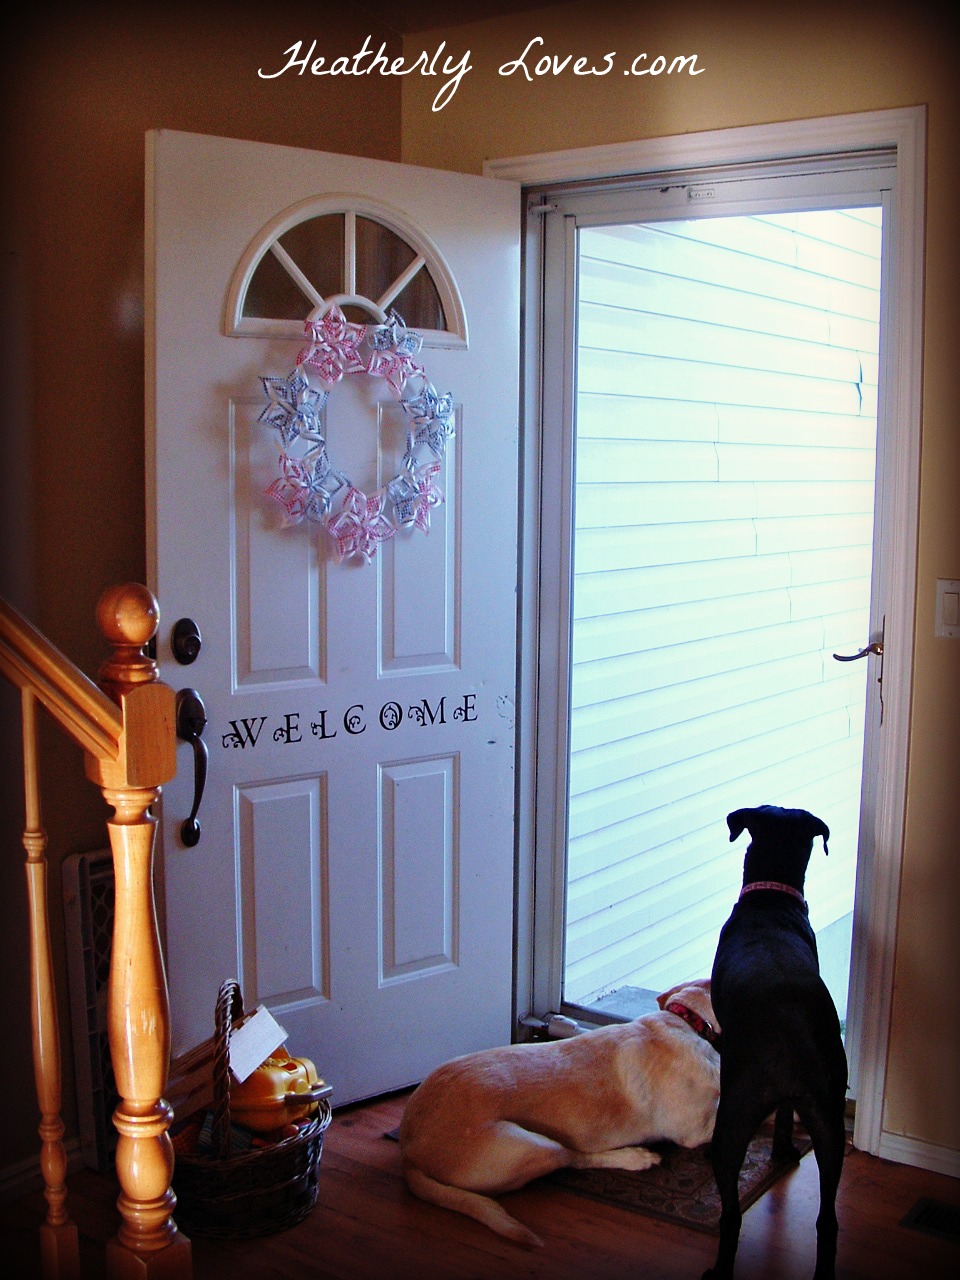
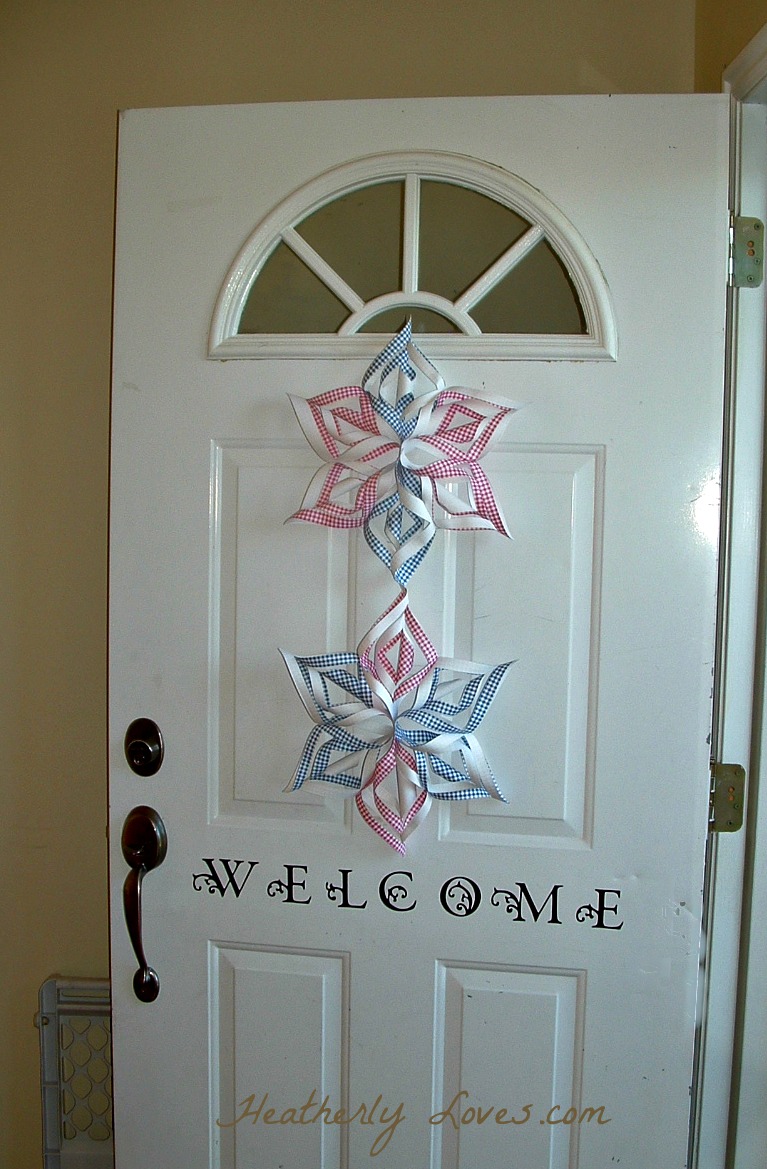
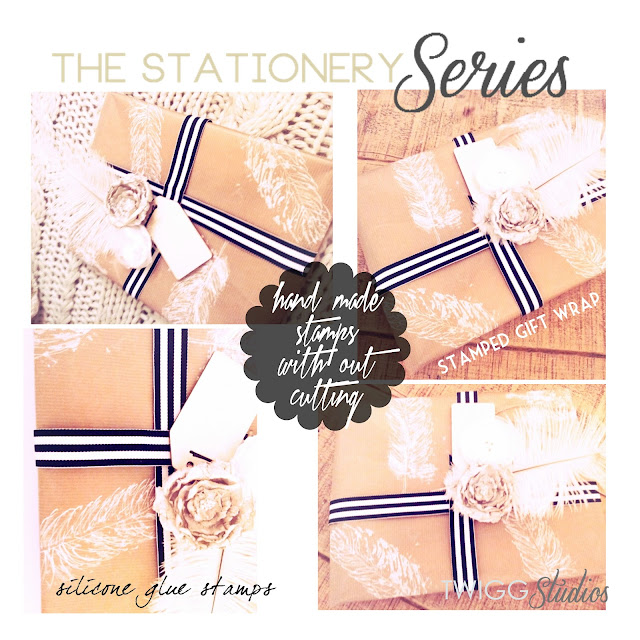
Today I am going to share with you all a  program that has been rated #1 on Amazon and Top Ten Reviews. Its not just for computer scrap booking, you can make cards, calenders, photo books, and gifts without having to buy expensive complicated software programs. That's my kind of program! I have been doing a few things with it, I made this the other night.


I am still learning how to make things. I am so happy to have this program.

Today I am giving away a $40 value, their My Memories Suite v3 program. Whats nice is you can download it right to your computer from their site. No shipping! No waiting for it to arrive at your door step!


easy-to-use

Create in minutes

Fast, and easy to use. Simple enough for beginners, yet powerful enough for a serious scrapbooker.
interactive-features

Make it Easy

Setup and cleanup are as easy as the exit button. And the savings over traditional scrapbooks is huge!
video-features

Speaks for itself

Video, music, and narration can bring all your memories to life.
share-again-and-again

So, go ahead, show off!

Countless ways to share your creation with family and friends again and again—and again.


Here is a video on the program too. If you go to their  they have great tutorials.
We all love tutorials.


Now for you all to enter I have a few things you must do, PLEASE :)
Like me on . 
Leave a comment saying you did so along with the name you used on facebook. (so I can verify)
Follow My Memories Suite Blog
Leave a comment saying you did.
Also please, leave your email and or facebook name, in a comment.
That way I can contact the winner.


THE WINNER WILL BE ANNOUNCED MAY 31st! 
Good Luck to you all


For additional entry's:
Go to My Memories website and tell me which digital paper pack and or layout you like, and leave a comment for both. That's 2 extra entry's!
Then head on over to and like them, leave me a comment!
Follow , leave me a comment!
Follow me GFC and Linky, that's 2 extra entry's there, leave me a comment!

I will be choosing the winner with random.org.

Also, if you don't win or just don't want to enter go to the right side of my blog and you can get $10 off the program if you use the code right above the button.

xoxo
Heather

Wednesday, May 30, 2012

Easy Plant Gift, My First Guest!


Hello Everyone! I would love to welcome my FIRST guest blogger.... Jennifer from The Home Daybook. She has a wonderful blog and I enjoy reading every post. After you see what she has to share today, head on over to her blog and give her some blogging love and follow her. I promise you will enjoy her blog.


Hey, there! Thanks so much, Heather, for inviting me to guest post. I'm so glad to be here! I enjoy Heather's link party each week, but I really love her sewing tutorials. I am newish at sewing, so I'm always looking for fresh ideas for projects and she is great at giving items a new look.


I'd like to share an easy plant gift I that I made recently. I like giving plants for Mother's Day. The frost-free date falls right around Mother's Day in our area and I think every mom deserves a little beauty in her world.


We potted up some snapdragons for my mother-in-law (red, her favorite), some annual salvia for my mom and some oregano for my sister-in-law.


I had a bunch of oregano seed itself in my veggie garden last fall. So, I have these little oregano sprouts all over my garden and I've been giving the little seedlings to many people. We potted up some tiny sprouts...


I decided to make a cute, unique plant tag. Since my sister-in-law is quite the fashionable girl, I chose a black wine cork out of my wine cork basket.


I guess we drink a bit of wine....

I used my trusty silver Sharpie to write the name of the plant on it. If you don't have a silver Sharpie, I highly recommend that you get one! They are great because they can write on dark things...and it looks cool!


Stuck in a toothpick....


I decided to wrap the plant in some brown paper. I put a paper towel folded up underneath the paper in case the plant leaked some water.


Tie it up with some twine. I folded the paper a few ways until I liked the way it looked. Stick in the wine cork and you are ready to rock and roll!


There you go...an easy, cheap and cute gift. Even if you don't have any seedlings around, this works great with any small pack of annuals that you can buy. Makes for a great hostess gift for all of those barbecues and graduation parties coming up. And if you're out of wine corks, use your imagination!


Isn't this is a neat idea! I know I drink wine, Im sure I will be saving those corks big time now. ;) Hope you all enjoyed this wonderful gift, you could even do this for your own home.
Thanks for sharing Jennifer, I really enjoyed you post.
xoxo
Heather

Monday, May 28, 2012

D.I.Y Patriotic Stars {Happy Memorial Day}


Today I am going to share with you all how I make my patriotic stars. I seem to make these a lot! I love them, they are good at Christmas time too. Here is a picture of Rose's tree this past Christmas. I've made them out of book pages and gave them to friends as an ornament. So many ideas with these!
Easy for kids to make too.


I made this one last year.


Okay onto the Tutorial.

What you will need:
Paper
Scissors
Hot glue and gun


Take your first piece of paper and fold it in half length wise.


Fold it again.


Now unfold. this is a guide for four squares. Cut along those lines.
{I was hungry, and really needed a coke from McDs}


Take one square and fold it corner to corner to make a triangle.


You are going to make three cuts on either side. I go back and forth, make a cut up and then go to the other side and do the same thing. Do not let the cuts meet, leave space. If that didn't male sense let me know.


Here is what it should look like with the cuts all done.
{still hungry, and Andrew was reading a magazine}


Unfold, and take the middle corners and glue them together.


Flip it over and take the next lines, meet the corners and glue.
Flip again, glue. Flip again, glue.


You should now have this, looks like an ornament!
But this is just one point for your star. You will do this with five more squares. For a total of six points.


Next to glue them all together. I lay mine out and decide how I like them to be. 
You will take three at a time. Glue the points together. I forgot to get a better picture of this step.


You should now have two pieces like this.


Glue them together.


Should look like this in the middle.


Next you will glue each point together. See where my finger is pointing? This is where you will glue them together all around the star.


Like this! This will make the star more sturdy / stiff.


Wah Lah! You have a star!


Here is how small the little ones I made are.


Now get creative with them! Here are a few ideas I came up with.


xoxo
Heather


Saturday, May 26, 2012

Sunday Round Up {11}


Before I get onto the Link Party. I would like to let you all know that I am looking for some guest bloggers. I am thinking towards the end of May beginning of June and possibly later in the month of June. I am having a busy month at work and not sure how much time I am going to be able to be on my blog. :( So sad. 
If you do want to be a guest let me know by June 14th! 
Just email me at HeatherlyLoves.com

Please head over to my My Memories GIVEAWAY, winner will be chosen May 31st

Also, I will be posting the next link parties without features... Do to not be able to get on my blog. I am so sorry, but when I am back, I plan on picking three if not more from each week. So please go to Kayla's Creations to see who she has featured each week. I hope to be back sooner than expected!

Here are my features for this week

Pull String Pig Pinata... Angry Birds! Love this!

I want to go buy a file cabinet just so I can do this to it.

Paper DIY Earrings Volkswagen
Not only do I love that these are VW earrings, because we have a VW, but that they are made out of PAPER
Now before we party we have a few rules.
Our rules are simple...
1: You are welcome to link up anything you'd like. 
Just keep if family friendly.
NO FOR SALE/ ETSY SHOPS/ NO LINK PARTIES
2: It has to be to a specific blog post.
3: Please link back to us, either with our button or with a back link on your blog.
4: Please follow your hosts HeatherKayla
5: Please like our facebook pages! 
LINK>>>  
LINK>>>

That's it! Told you it was simple.
If you have been featured then grab a badge. 
{Button at the bottom of my blog, along with the link party button}
Be sure to check out both blogs to see if you have been featured. 
We both choose our favorites.


Now onto the Link Party! So excited to see what you all have been up to. 

Tuesday, May 22, 2012

My Fashion Star Dress


I love making things with a pattern, it always makes me feel good that I can make my own clothes. Then when your out in public and you get that one complement. Its reassuring that you can make something nice and pretty.

[Sorry for being on the phone]

I love watching all those sewing shows.... Fashion Star, Project Runway etc. I kept looking at this pattern and finally broke down and decided I needed to buy it. 

M6552

You can get it right now for $1.99!! Good deal! This is when I usually stock up on my patterns.
Now when I got home and took out the directions,  there was more options than you would think. So you could leave the dress the way it is, or make it into a shorter dress, or even make it into a top, and last you could keep it long and make the sleeves short. You could do even more than what they had suggested.
I cut mine out and loved how the top was to be sewed. The top was one piece!
Amazing, never have sewn a pattern with the top being one piece. 
Now I did cut the length of the skirt part shorter. I knew I didn't want it to be maxi length... After getting it all done I put it on and after sending pictures to Rose, {I hate that were far away from each other now}, I went ahead and made it into a shorter dress. Now I liked it the way it was, but I felt that it just wasn't me. It could have been the fabric I choose too. But I ended up taking the the width of the sleeves in too. I want to make this dress again with a nice jersey fabric. 
Here is how my dress looks, Hope you all like it.


xoxo
Heather

You can now follow me on Facebook, like me on the right side of my blog or go to www.Facebook.com/HeatherlyLoves

Also, I am looking for guest bloggers. I am having a super busy month at work in June. If you would love to be my guest please email me at HeatherlyLoves.com. 
Dead line is May27th


Saturday, May 19, 2012

Sunday Round Up #10


Hello Everyone! I hope you alls weekend is going great for you. I am so excited Andrew is finally back home! He has been gone for 2 weeks and just hated having him gone so long!

Before I get onto the Link Party. I would like to let you all know that I am looking for some guest bloggers. I am thinking towards the end of May beginning of June and possibly later in the month of June. I am having a busy month at work and not sure how much time I am going to be able to be on my blog. :( So sad. 
If you do want to be a guest let me know by May 27th! 
Just email me at HeatherlyLoves.com

Also, I am planning on having a giveaway, hopefully next week! It will be my first and I have a wonderful item(s) that you all will love. Are you all in? :) You don't even have to have a blog! So stay tuned I can't wait to share the giveaway with you.

Welcome to our 10th link party! We are so glad to have you all here for our Sunday Round up!
 This is a shared party, so you'll get more publicity & save time. 
If you link up to one party your post shows up on all 3.
Can't wait to see what you all have got to show us!
We will be picking 3 posts (each) to feature each Sunday.

Here are my features this week:
Don't forget to grab the feature button, if you were featured


This is such a great idea on how to make a stamp with acrylic stamp and silicone glue!
Head over to Twigg Studios

Love this bookmark! So cute and I need to make myself one.
Head over to The D.I.Y. Dreamer.

Love how her chairs look! What a great transformation. 
head over to Lewisville Love.

Now before we party we have a few rules.
Our rules are simple...
1: You are welcome to link up anything you'd like. 
Just keep if family friendly.
NO FOR SALE/ ETSY SHOPS/ NO LINK PARTIES
2: It has to be to a specific blog post.
3: Please link back to us, either with our button or with a back link on your blog.
4: Please follow your hosts HeatherKayla
5: Please like our facebook pages! 
LINK>>>  
LINK>>>

That's it! Told you it was simple.
If you have been featured then grab a badge.
(Be sure to check out all three blogs to see if you have been featured. 
We all choose our favorite.


Now onto the Link Party! so excited to see what you all have been up to. 

Newer Posts Older Posts Home